

Staging Environment – How a WordPress Staging Ensures Website Safety

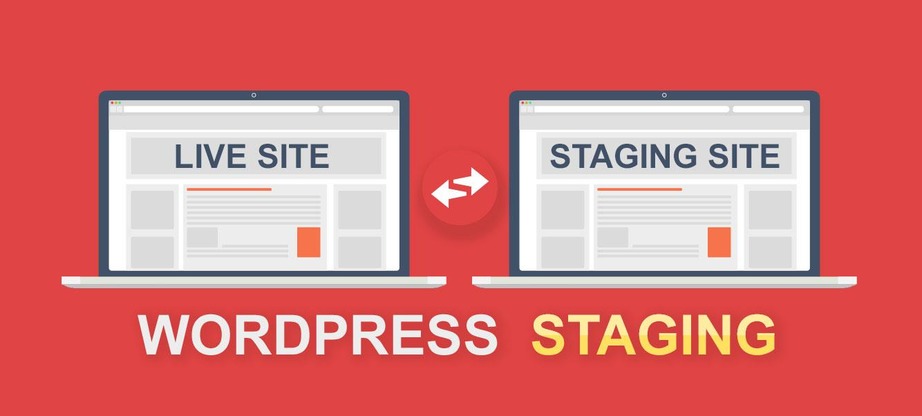
It’s another day at work. You can’t wait to test this cool new feature on your website. You make one small code change. And before you know it, the entire website comes crashing down. This could happen to any of us. With WordPress, sometimes even the smallest change can break your site. It doesn’t even have to be a code change – it could be a WordPress core update, a new plugin or theme, or even a minor update to an existing plugin/theme. The easiest way to avoid this? Staging. A staging environment is an exact duplicate of your live website that is separate from your site.

You can try out all your code and design changes here without worrying about their impact on your website. How do you create a staging environment for WordPress, and what are the consequences of not using staging? Let’s answer these questions in the following sections.
Five Consequences of Not Using Website Staging Environment
Before we tell you how you can create a staging site, let’s look at the consequences of not using a staging environment for WordPress websites.
- One of the best features of WordPress is the availability of plugins and themes. Whatever you need, there’s something for everyone. However, this comes with its own challenges. Not all plugins/themes are secure. While a good first step is to always opt for safe WordPress plugins, this might not always be enough. For instance, your site could still be impacted because of compatibility problems between the WordPress version and the plugin/theme version.
- You could install a fancy theme or a multifunctional plugin on your website. Everything is working fine until you realize that your website is now loading slowly because the plugin/theme is not optimized for fast performance.
- You could update to the latest WordPress version or update any of your installed plugin/themes. This could sometimes result in website breaking or serious malfunctioning.
- The best thing about WordPress is the flexibility and wide range of options it provides. This leaves a wide scope for design changes and experimentation. When done on a live website, these changes could inconvenience your users or even result in website downtime. Besides that, some design changes or new elements may not look good on your website.
- Despite following website coding practices, bugs, and technical glitches are part and parcel of website development. A coding bug or design flaw could severely impact the user experience. This could easily result in high bounce rates or loss of traffic if the problem persists for long. That’s not all. This could also cause a drop in your SEO rankings as search engines tend to rank websites with good user experience much higher on their search engine results page.
Each of these consequences could be easily avoided by first testing the changes on a WordPress staging environment. Only after you are satisfied with the testing changes, you could choose to merge them with your live website.
How Do You Create a WordPress Staging Environment?
Let’s look at the three primary methods of creating a staging environment for a WordPress site.
1. Manual Staging

Manual staging is a significantly more time-consuming and technical process as compared to the other methods. To implement this method, you need to have advanced knowledge of how WordPress works, along with expertise in FTP tools. Here are the general steps for implementing manual staging.
- With your web host account, create a subdomain for the staging site.
- Use an FTP tool like FileZilla to copy all your existing WordPress files (from the original site) to the staging site.
- For your database files, create a duplicate of the database from the live WordPress site to the staging site. You can use a tool like WP Migrate DB Pro to move the database between the two sites.
After performing these steps, you have a safe and operational staging setup where you can test out all your changes and updates. Once you are okay with the changes, you can merge the modified WordPress and database files to your live site.
2. Staging from the Web Host Provider

If you do not have the technical expertise or patience for manual staging, you can opt for staging services from your web host. Most managed hosting packages offer inbuilt stages as part of their offerings. The actual staging process can differ between web hosting providers. Kinsta includes staging facilities in all its plans.
To create a staging site using Kinsta, log into your Kinsta account and select Sites. Click on the website you’d like to stage. On the next page, navigate to Staging Environment; Staging; Create A Staging Environment. It can take up to 15 minutes for Kinsta to create a staging site after which you can find the Staging URL in the domain tab.
Most hosting providers provide a similar user-friendly interface and process. On the flip side, however, staging from your web host can overload your existing server, thus impacting its speed and performance. Besides that, some hosting companies may be offering staging facilities only with their premium or more expensive hosting plans.
3. Automated Staging Using Plugin
Finally, you can also create a staging environment using a WordPress staging plugin. This method is recommended if you want to avoid the hassle of manual staging and don’t want to depend on your web host provider. These plugins are just as easy to install like any other WordPress plugins. Some of the popular staging plugins like WP Staging and Duplicator have a simple and automated staging setup that you can use to set up and then, merge changes from the staging to the live site.
On the downside, unoptimized staging plugins can excessively consume server resources, while some others may not support multisite WordPress networks. If you’re not looking for a dedicated staging plugin, the popular backup plugin, BlogVault, offers both backups and staging functions and even executes them on a dedicated and independent server.
Protect Your WordPress Website with Monstroid2

The Web is full of solutions for quick website creation. Yet, you should be attentive by choosing a new product. First of all, remember that WordPress is open-source. Accordingly, if you don’t want some theme or plugin to damage the protection of your site, trust only certified providers. That’s why it’s highly recommended to avoid third-party services, especially when it comes to free WordPress themes. Secondly, some “bloggers” share well-known expensive WordPress templates for free that also may cause lots of troubles. Usually, in such a case the mentioned items are offered out of kindness. Unfortunately, their coding includes hidden links. So, better avoid downloads from random pages, or you’ll popularize dozens of weird websites unwillingly.
Luckily, the next WordPress theme is developed by the well-known Zemez team. As for the product, it’s called Monstroid2. Fast, powerful, without bugs, and SEO-friendly, it goes with comprehensive documentation. Plus, using this WordPress item rest assured to get effective live assistance when you need it. Experienced technical support specialists are always ready to help you.
Besides, there are countless features of Monstroid2 that speak for themselves. The theme is packed with 73+ skins and hundreds of pre-designed sections, and elements. Just imagine how many websites you’ll create with them not wasting time. As well, these ready-made designs are responsive and retina-ready. What is more? Monstroid2 is a modular Elementor WordPress theme. And, without a doubt, you are familiar with this drag-n-drop page builder. Moreover, even Jet plugins are included to provide you with professional site creation and editing. So, it’s time to check this all yourself, isn’t it?
Staging Environment – Conclusion
For a website owner or designer, the flexibility that WordPress provides is unmatched. WordPress and its plugins/themes provide a great way to constantly upgrade website design and functionality to improve your user experience. To make the most of what WordPress has to offer, a staging setup is a great asset to have on your side.
A WordPress staging environment is an ideal platform for testing any design modification, code changes, or a new plugin/theme without any effect on your live website. While manual staging and web host staging methods are useful, staging plugins support a much faster and user-friendly way to manage to stage. We highly recommend investing in one for their ease of use and reliability. We’d love to know if you have tried website staging and if it has helped your business. Let us know in the comments section below.