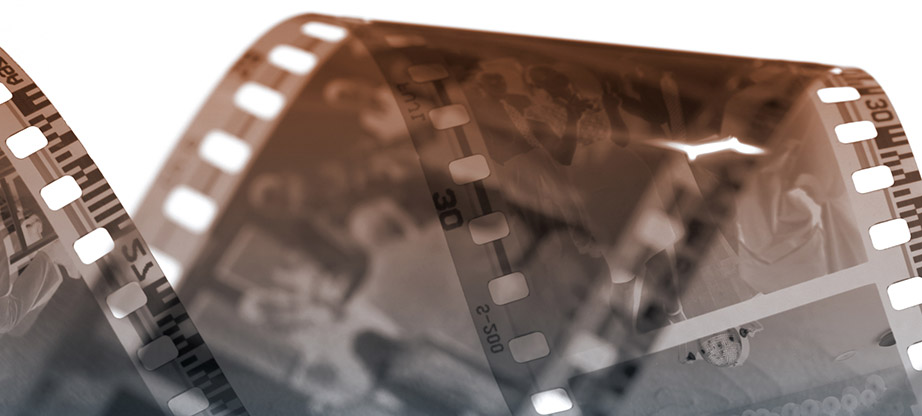
Now vs. Then – A Look at Photography Before the Digital Age
The old is new again. It seems that movies, fashion, food, even cookware are trending towards the nostalgic. Some photographers have even caught the bug – with many professionals in photography trading in their digital cameras for film cameras again.
But before you decide to take that trip down memory lane, take a quick look at these common photography trends and techniques “Then and Now” to decide if you are really ready to give up that DSLR.
Color Correction and Effects
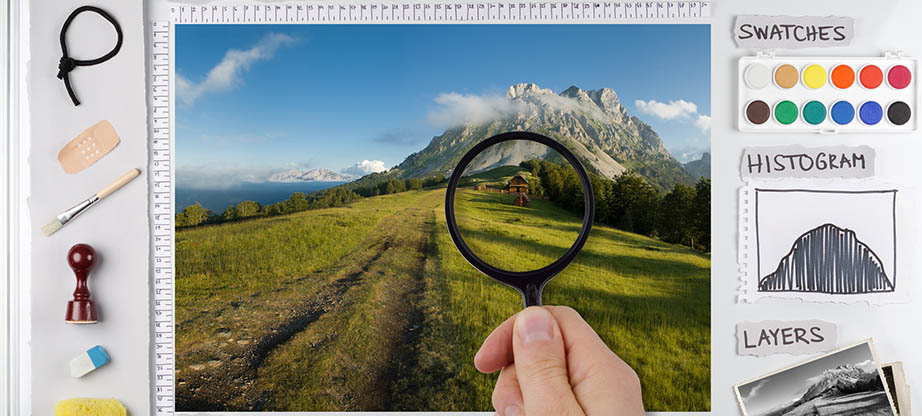
Photoshop, or other post-processing software, make a color correction or adding color effects to images as easy as moving sliders in dedicated windows. Adjusting color in film processing is a complex set of steps that include using filters over-developed images to determine the exact color and strength of the cast to adjust (or add), and then adding the correct amount of chemicals in the color filtration enlarger to achieve the desired results. Usually through lots of trial and error.
In both cases, filters can be added to the front of the lens BEFORE the shot is taken to achieve the desired cast. Which means, of course, that you must own and carry the said filters at all times just in case you need them.
Dodge and Burn
The process of dodging (lightening areas of a photo) or burning (darkening areas of the photo) is again easily achieved using tools from the toolbar in your favorite post-processing software.
In the film, this is done in the darkroom by covering (dodging) or exposing (burning) the area of the image to be affected for longer periods during the print paper exposure. This also means processing the image, identifying the area to adjust, and then creating the exact template to place over the print while exposing the new image.
Exposure in Photography
Speaking of exposure, this is an area today that we often find ourselves using those handy sliders in post-processing (seeing a trend here?). That is, of course, if you didn’t use the histogram display on your DSLR to correct the exposure settings in real-time.
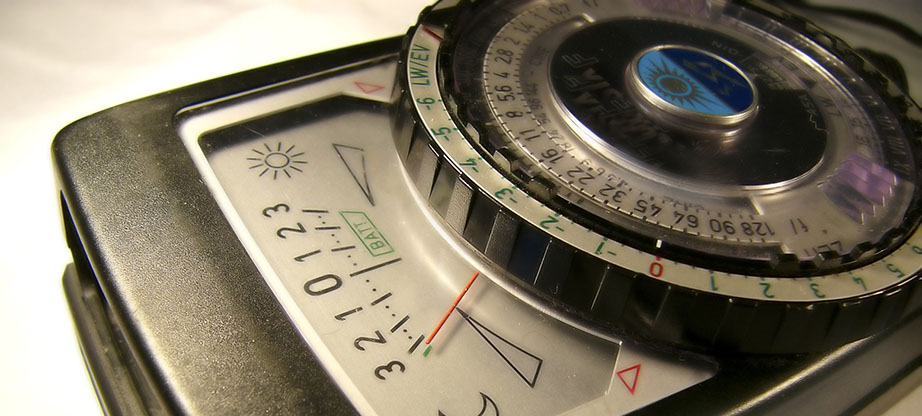
Film cameras don’t come with a histogram. Film shooting means taking readings with a light meter and using the results to manually set shutter speed and aperture. And if you don’t get it correct in-camera, there is always the old doge and burn method described above.
Composites in Photography
Compositing elements in post-processing can be an outlet of creative thinking for so many. And while this takes more advanced post-processing skills, there really is nothing you can’t isolate, copy, overlay, duplicate, remove, or double expose in the finished image if you so choose.
In the film, you have two choices. You can double expose a frame in-camera – with little control over the resulting image, or you can learn to work in the darkroom with tiny cutouts. Basically, it is a matter of cutting out the area of an image you want in the final result, overlaying that template on the print area exposed to the area of the image to expose, and repeating with each element you want in the image – making sure that you correctly control the layering, exposure, and opacity of each object. And if you make a mistake, you start all over again.
Removing Elements
Who hasn’t learned to love Content-Aware Fill in Photoshop? Simply lasso the area to be removed, and then tweak the tool to control how to magically remove it from the image. In the film, the process of composting is done in reverse. A template of the area to remove must be produced and used to hide the element in the final print and then the inverse used to include what you want to be in its place.
White Balance in Photography
The correct way to control white balance today is to choose the right setting in the camera, but we don’t always remember to do that. That’s when those white balance adjustment sliders, or even that handy eyedropper control, makes adjusting white balance snap-in post-processing.
In the film, white balance is controlled by the film you use. Film rolls come in daylight balanced or tungsten balance. Using the wrong one will result in the color cast issue mentioned above. You can “trick” daylight film into looking correct by using a daylight-balanced flash for the image, or you can get really familiar with the chemical compounds used in darkroom developing.
Number of Images
Today memory cards are larger and cheaper than ever before. I carry 64GB, 128GB and even 256GB cards on every shoot. Being able to quickly switch cards when traveling, even backing up to portable hard drives and reusing cards, means never running out of capacity for capturing images.
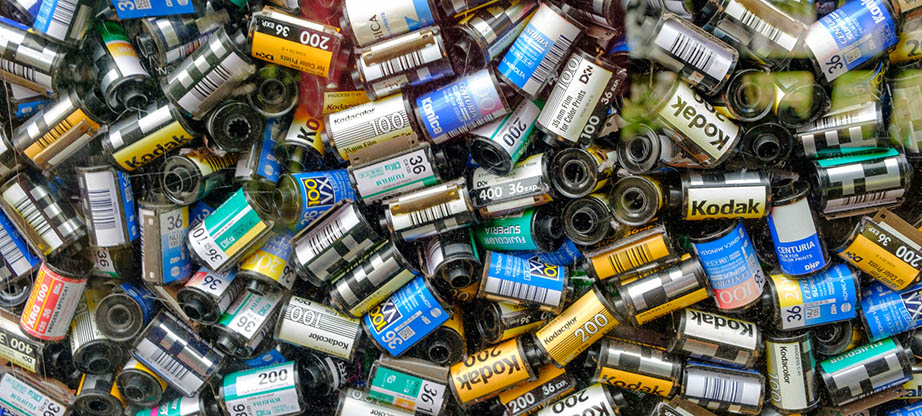
The film comes in 24-36 shots. That’s what a roll of the film gives you. Need more than that, then carry lots, and lots, and lots of rolls of film at all times. Especially if you are taking pictures on an extended trip.
Traveling Photography
Speaking of traveling, a digital camera owner will never think about an x-ray machine. They just do not affect memory cards. Film camera owners must think about x-ray machines. X-ray machines can damage sensitive film by causing all your beautiful images to develop a fog. The airport authority will tell you that anything up to ISO 800 film should be safe going through the machine. But do you want to take the chance? The best bet is to pack (all) your rolls of film in lead-lined film bags just to be safe.
That’s not to say that going old fashioned is always a bad thing, and photography trends are out of the question. Making ourselves slow down, think about all the aspects that go into a shot, and knowing we only have a limited number of attempts to get it right can help to challenge our creativity. And quite possibly make us better photographers – no matter what type of camera we use.
Images copyright Dreamtime Stock Photos.


