Commercial activity has already grown out of usual boundaries. Internet technologies changed the process of product purchase forever. The notion of ecommerce dug deeply in minds of consumers and business people.
No matter whether you have – a small business or run large company – you must have a website for your business. Otherwise, you are doomed to fail, because your enterprise will be undoubtedly crushed by competitors. So it’s time to make a selection of an appropriate solution for your commercial website. MotoCMS prepared for you something special to launch online store.

Welcome MotoCMS Ecommerce plugin! This is the best way to manage your online shop without leaving web browser. All you have to do is to improve your own MotoCMS 3 website template with this awesome plugin for $99. Do you want to know what you get with this special offer? Check the write-up below.
Frontend Interface
The minimalistic charms of an online store interface, provided by MotoCMS, creates the perfect atmosphere for profit-making. Your customers will be distracted by nothing while shopping. Aside of simple design, your website visitors will appreciate a large slider. Splash photos for customers to get a load of your top products and services.
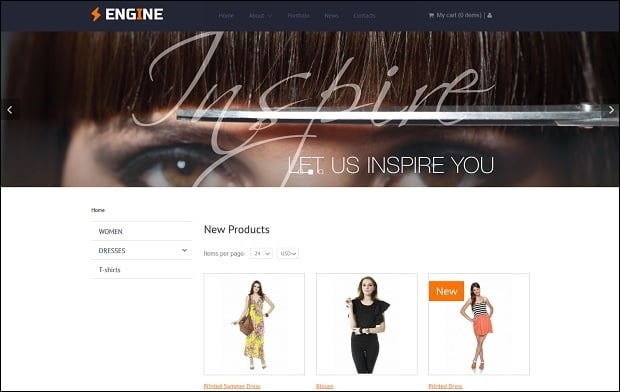

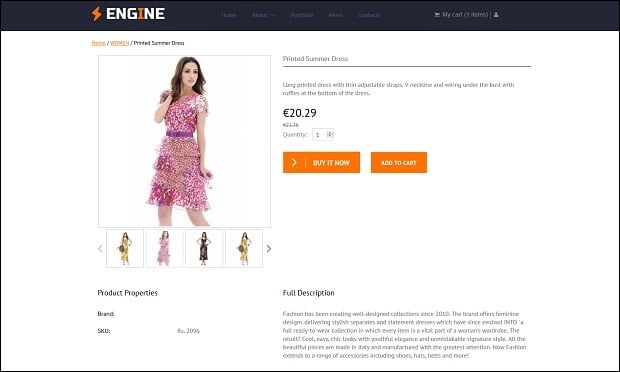
Vertical sidebar contains a catalog with various categories of goods. Goods themselves are all presented in a grid gallery. Your customers are allowed to change the current product quantity on page (24, 48 and 96), as well as select price currency. Each product has a single page with full description, including name, price and other properties.

What’s Inside
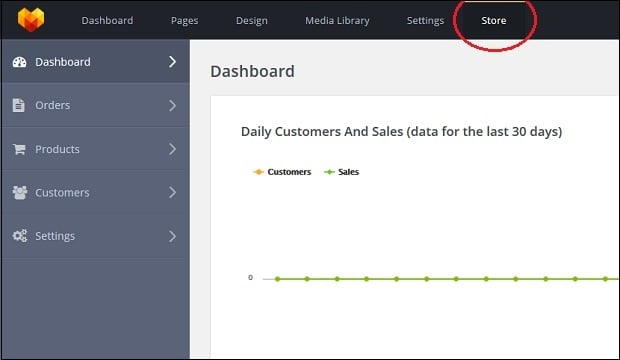
Right after your Ecommerce plugin installation, begin your online business activity by clicking “Store” button in the admin panel. Meet 5 sections, allowing you to take your online store under control at any time and any place.

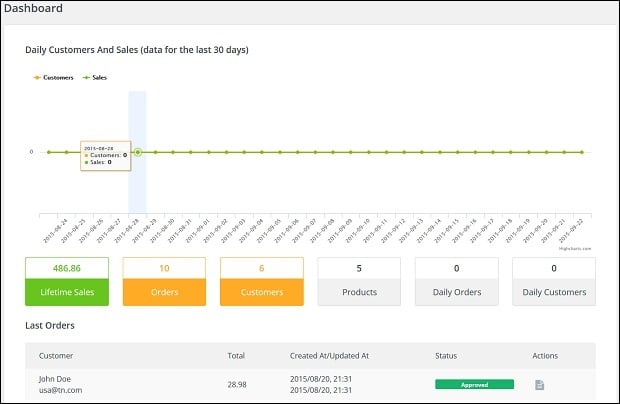
Dashboard
Your profit rate depends directly on the information about sales, orders and customers amount. The Dashboard section allows to track all the statistics throughout 30 days via the data timetable. The list of last orders is also available on this section page.

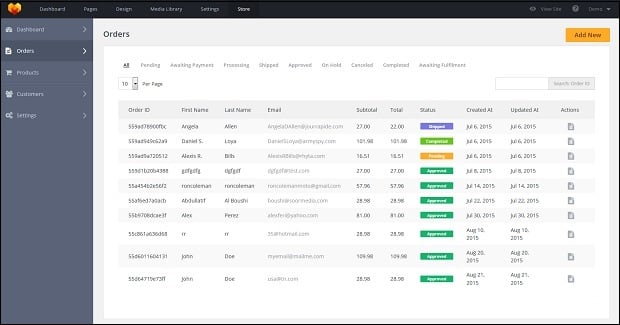
Orders
Here you will find a full history of the orders you received since your online store start up. The list has the convenient format, allowing a website owner to process orders with different status. Feel free to approve, ship, hold and cancel products you sell. Check the order ID, clients’ personal info, prices, dates of order creation and update. Click on the Actions column for more billing, shipping and transactions details. Advanced search is also available. Search orders through ID, email, customer name or address.

Products
One can guess from the heading that the given section includes the variety of options for product monitoring. There are sub-sections for catalog, brands, categories, discounts and properties.
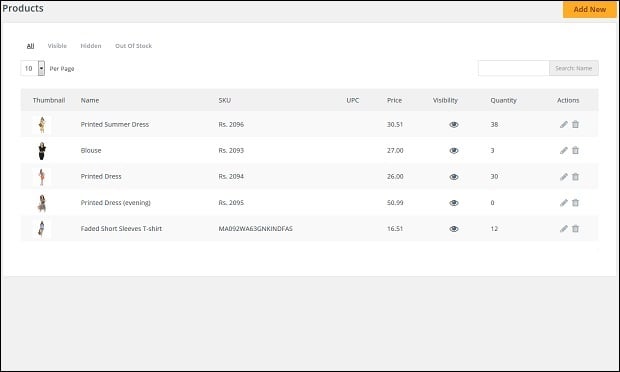
Catalog
You are already familiar with this directory, mentioned at the beginning. Here comes the list of all products, being in and out of stock. Manage their photos, names and quantity. Add new and search necessary commodity.
Remember the Actions column in the Orders section? There is the same one in the Catalog. Just make a click on order to edit goods. Change general settings, including name, URL, SKU, UPC, descriptions and SEO options. Upload photos via Media Library in the admin panel to renew the showcase. Attach a brand or a category to any product.
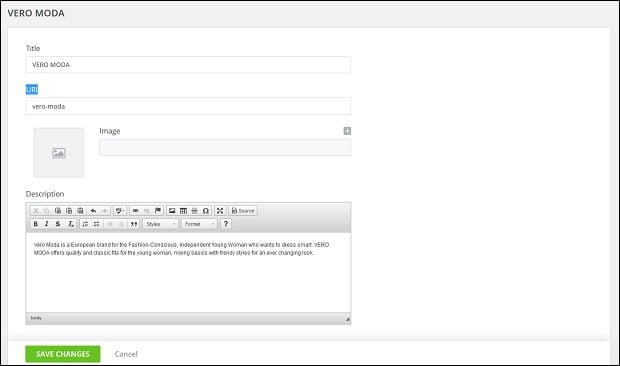
Brands and Categories
The product diversity means a lot for a customer. The more you offer the more chances you have to sell something. Brands and Categories sub-sections have the same purpose to classify the goods in your online store.
Create any number of brands with unique name, URL, image and description. One can see them in Product Properties while visiting a product page.

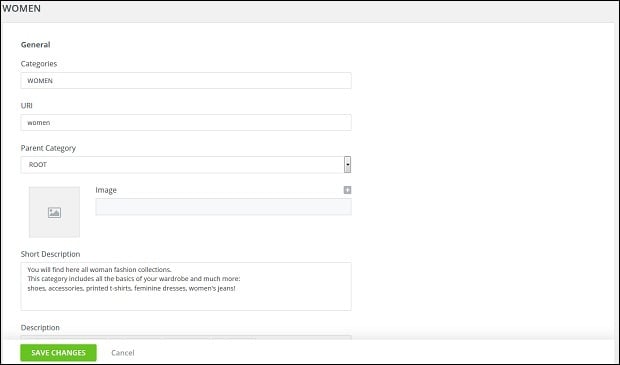
The process of categories addition is similar to MotoCMS 3 website template menu editing. Just click once to add a product group and drag and drop this brand new category to embed it to others. Create a name, come up with URL, select a parent category and tack an image. Descriptions and SEO Settings fields are also available for filling.

Discounts
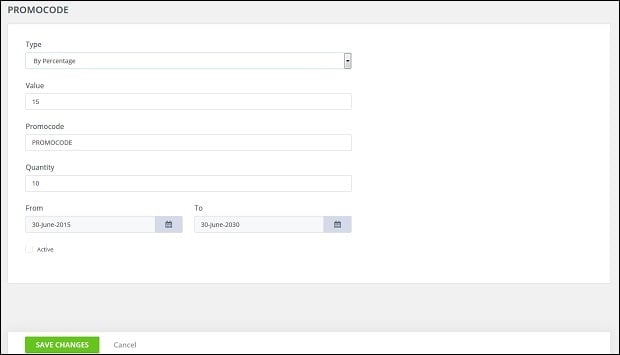
Are you planning to please your online store audience with sales? Make promo codes just in a few steps. Set up its value, name, type (fixed price or percentage), quantity and timing. Check the Active box to start a discount.

Properties
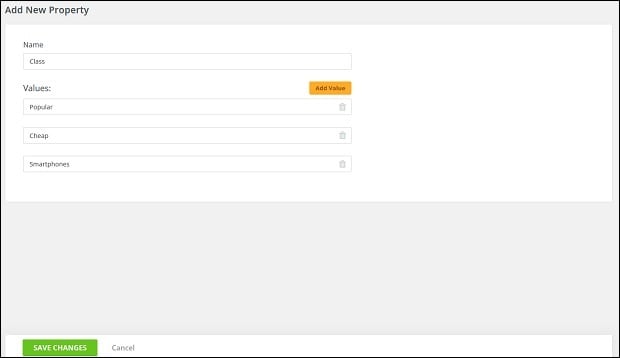
If you want to describe products more specifically, this sub-section is the best solution. Add extra categories for your customers to find something they are looking for really fast. Imagine that you are an owner of a cell phone online store. You should create a property title (e.g. Class) and its values (Popular, Cheap, Smartphones etc.)

Customers
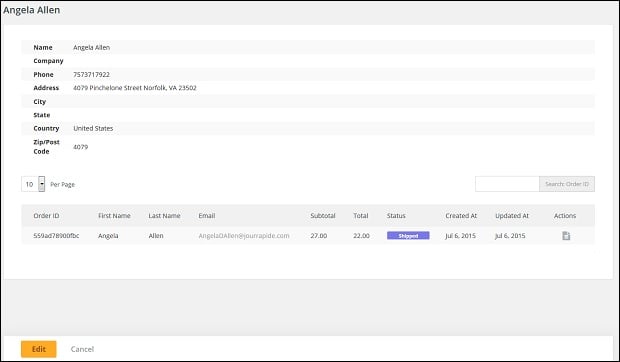
The Customers section provide everything you have to know about your clients: first name, last name, email, phone number and physical address. You are able to learn full shopping activity of each client without efforts, looking at the list of orders. Need to make a few changes in customer’s profile? That’s not a problem. Just click on the “Edit” button.

Settings
The last section of Settings consists of preferences concerning design, taxes, currencies, payments and email.
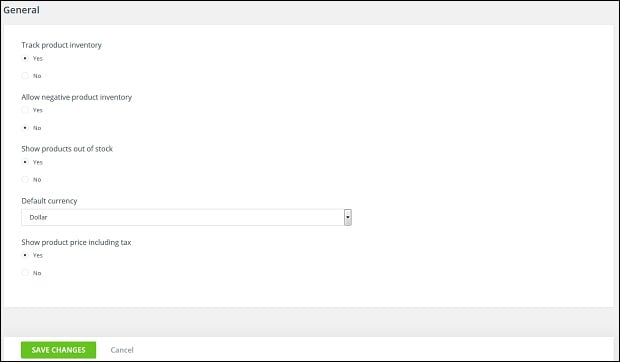
General
In the General settings sub-section you can decide whether to track product inventory, allow negative product inventory, show products out of stock or not. Choose what currency will be default for your store. Show a product price with or without tax.
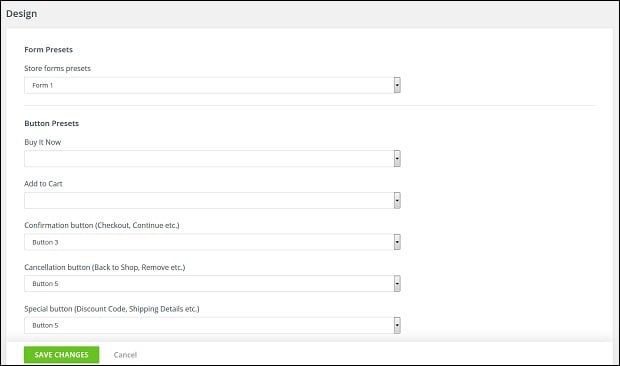
Design and Slider
Transform your online store design readily by changing your online store design. Currently 3 different presets are available. You have also an opportunity to pick a design of various buttons. “Buy It Now”, “Add to Cart” and a bunch of other special buttons have 5 original versions of style.
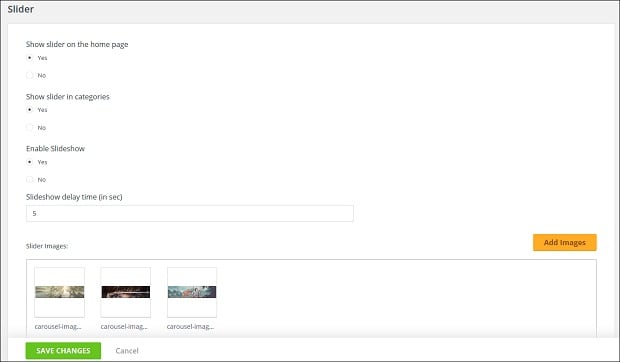
In the Slider sub-section you are able to add more images to your slider, show or hide it, enable or disable slideshow, as well as set up slideshow’s delay time.
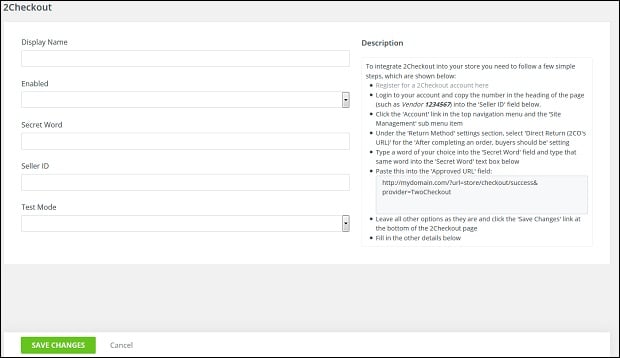
Payments, Currency and Taxes
There are a few ways for your clients to pay for your products online. Currently two payment systems are available: PayPal and 2CheckOut. You have to create a user account to connect it with your online store. Read step-by-step description on payment systems’ websites, if necessary.
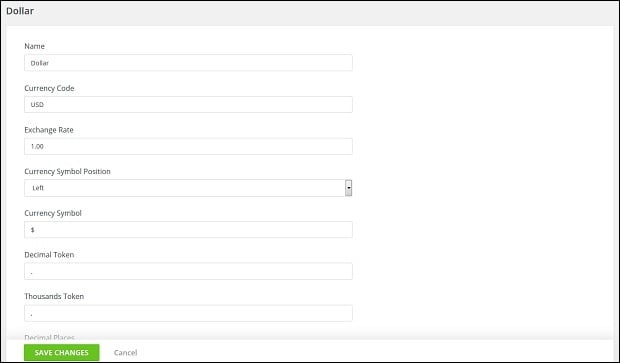
Add more currencies in the Currency sub-section to make the payment process more convenient for customers. Set up currency code, exchange rate, symbol, symbol position and more.

The Taxes sub-section is aimed to set up tax classes, tax zones and tax rates.
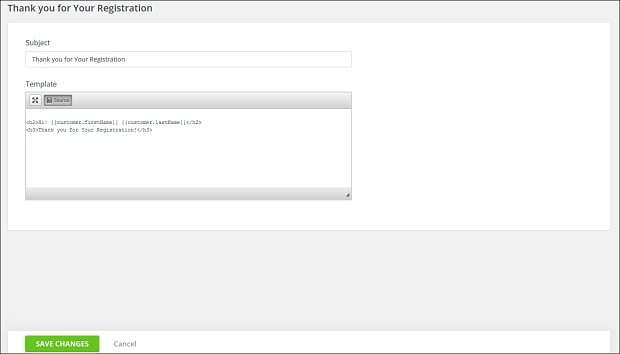
In this Email sub-section you can create various email templates to send system messages to clients. Three ready-made messages are already provided: “Thank You for Registration”, “Order Confirmation” and “Forgot Password.” Write your own ones to be in touch and inform your customers when you need it.

Buy MotoCMS Ecommerce plugin with MotoCMS 3 website template and enjoy well-designed online store with overwhelming functionality. Make your online store the number one business in the web!