

4 Tips for More Effective Website Images

Over the years websites have become much more visual. Many who incorporate photos as part of their content or even as the background. With the right photos, you can accentuate your website’s design, complement its content, or even develop a visual hierarchy. In order to obtain the ‘right’ photos however, you need to learn a bit more about what is required for effective website images.
Learning about effective website images will take time and does require some experience. Meanwhile these four tips should help you to jumpstart your efforts and put you on the right track:
Define the purpose of every photo
When you’re snapping a photo for a website, you should have a clear idea of its purpose, i.e. what you intend to use it for. Is it going to be the background, used as part of a specific piece of content, or something else entirely? As you can probably imagine photos will have different requirements for different purposes. TThat is why it is important for you to define it right from the get go. For example, if you are writing about historical topics or are trying to discuss something that happened in the past, it will make sense that you use a service like Evepresent to digitize your photos and then use them for different parts of the website.
Careful the photo’s composition isn’t too ‘busy’
Generally the most effective website photos tend to be those that are relatively clean. These highlight the subject without having too many other elements that distract from it. That is especially the case as photos with a ‘busy’ composition can draw attention away from other important elements on the website, or make it look cluttered.
Use leading lines to direct attention to other elements
In photography leading lines are often used to direct the viewers’ gaze to the subject. That holds true in website images as well, but it can also be applied to direct attention to other elements – possibly even outside the photo itself. For example the leading lines could point to a link or button. If the photo is being used as a background, it could even point towards the navigation or the area where the content titles are located.
Balance resolution with file size
As much as you may want to include tons of high-resolution photos that look amazing on your website, you should keep in mind that the higher the resolution the larger the file size – and the longer it will take your website to load. To add to that there is no point in loading a high-resolution photo. It is going to be displayed in a smaller resolution, as that will waste a lot of space. When deciding on the resolution of your photos it is important to keep this in mind, and balance the resolution with the file size. In such a way it won’t adversely affect your website’s speed.
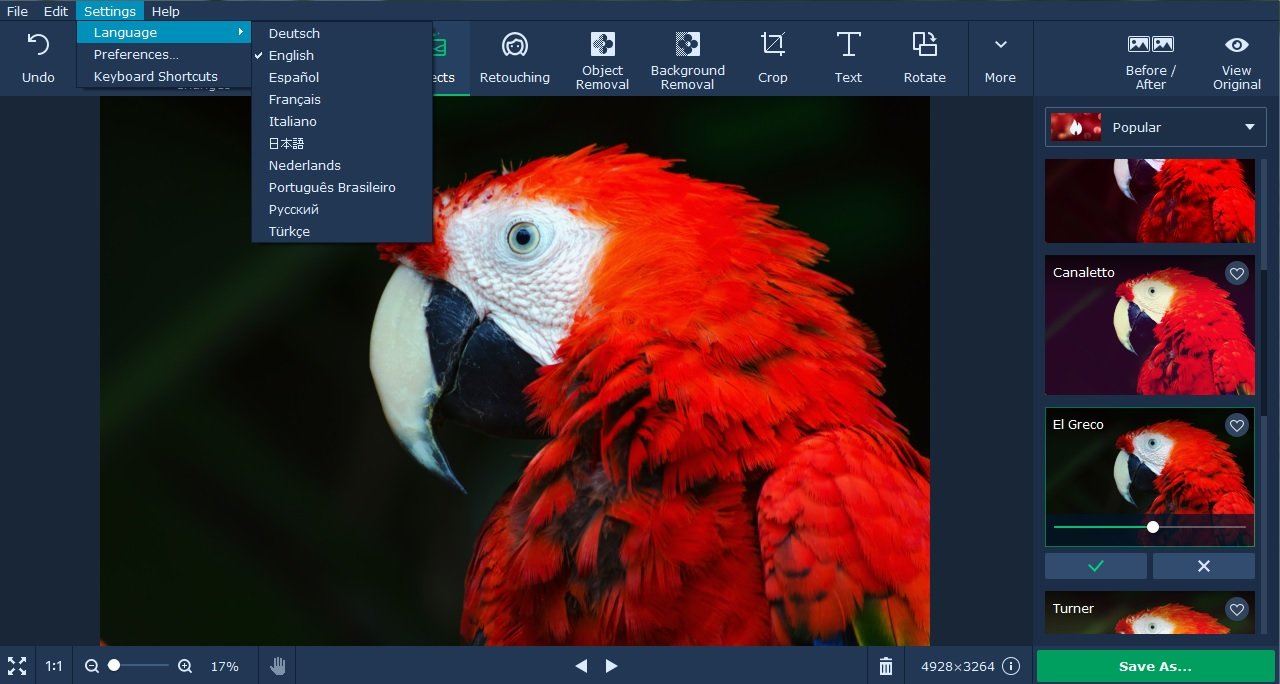
As much as improving your photography technique can help you to snap better photos for your website, you should also learn how to edit it too. That may be a concern if you have little or no experience, which is why it would be a good idea to give Movavi Photo Editor a try.
Once you download photo editor and launch it you’ll be able to see for yourself how intuitive it is. All it will require is a bit of experimentation on your part. You’ll be able to use Movavi Photo Editor to improve the quality of your photos, remove unwanted objects. Also you will be able to replace the background, apply artistic filters, and much more.
Simply put Movavi Photo Editor will give you full control over how your photos look – which is critical when you intend to use them on a website. It won’t take you longer to familiarize yourself with its features. Once you do you can ensure you end up with the ‘right’ kind of photos for your website.