

How To Make Your Own Mockup – FAQ About Mockups

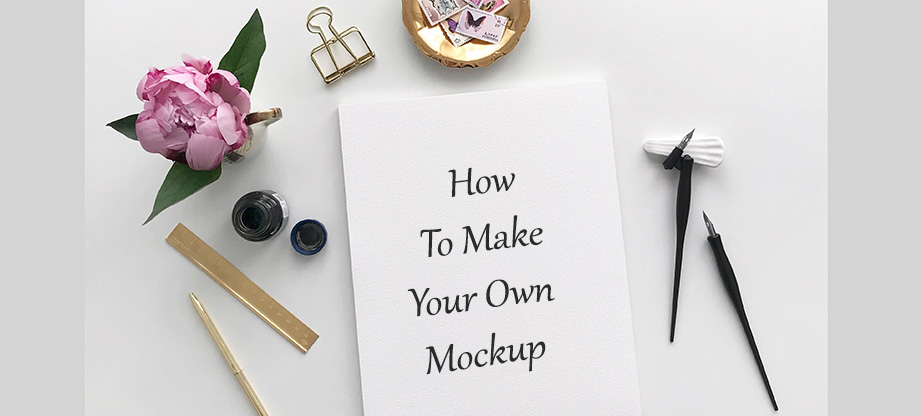
If you don’t know what a mockup is, I’ll explain it to you. It’s a picture or a scene to present your illustrations, fonts, products in action. That is, for example, your product is a font, a bottle of wine with an editable label and scattered around grapes, a corkscrew, and so on. You write something about wine with your beautiful font, with the help of smart layers in the Photoshop you insert it on the label, and voila. The customer sees your font and wants the same one, of course, to decorate them with the author’s wine collection. However, to do that you need to know how to make your own mockup.
Who and Why Needs Mockups
Globally, mockups are needed by designers who work on a regular basis and want to present their work beautifully to customers. Let me remind you that on this drain, unlike Shatter, the preview is not just a JPG version of the vector file, it is a big story of a few pictures, telling about how great the product is and how magically it will help customers.
Technically, a mockup is a PSD file with editable smart-objects. If you don’t know what smart objects are, don’t be afraid: it’s just a type of layer in a photoshop, if you can put it that way, which allows you to quickly insert the design in the right place (that is, in the case of a bottle, it’s on the label, not the whole bottle at once).
Sometimes mockups are called ordinary photos with some scenes – for example, a notebook is lying on the table, around a flower – but I think it’s not quite right, because, let’s face it, a photo is just a picture. With its help, you can also demonstrate certain things (the same fonts and inscriptions), but if you want, for example, to stick a full-color complex illustration, but so that it stands upside down, it will be much harder with a jpeg.
Where can I get a mockup? Globally, there are two ways: to do it yourself or to find and buy/download a ready-made free mockup. Let’s look in more detail.
How to Make Your Own Mockup
The first thing about how to make your own mockup is that you will need items for your mockup and camera. If you’re taking pictures for a product presentation, the quality of an iPhone will be fine (but of course, if you have a more advanced camera, use it). If you want to make a mockup design for sale, you can’t do without photo equipment.
How To Make Your Own Mockup – The Algorithm
>To come up with an idea – that is, what you will demonstrate. For example, you want to make a mockup with a notebook to showcase the font. Pick up the right objects – in the case of our example, it’s a notebook, some beautiful background that does not distract attention too much.
Take a picture. It is best to take pictures of a mockup at the window, at a time when there is no direct sunlight, but it is light enough. To prevent you from getting ugly and heavy shadows, it is advisable to install a reflector in front of the window – it can be as a special reflector or a large white sheet. It will be a very basic light scheme for those who do not understand how to take off the whole thing.
When you take this photo, you will have to use some mockup software. For example, open it in Photoshop and add it over the text.
How to Use It?
You download a .psd file to your computer and open it in Adobe Photoshop. Open the .psd file and in the lower right corner find the layers. This section shows all the layers that are in the file.
We need a smart layer that we need to edit for the desired result. A smart object includes a container that allows you to work with the image without losing quality. The reason for their use is that Adobe Photoshop distorts the images.
Click 2 times on the icon of this layer (not on the line, but on the icon!), opens an additional tab with the content of the layer. Drag and drop the picture you need from your computer folder and fill the space, click on the panel to save it. Remove the visibility from the old layer (click on the peephole in the layer).
Press Ctrl+S, change the smart layer is saved or just close the second tab, and the window pops up, the program asks: “Save or not”, you press save. Go to the main tab and see the result. >Save this image to a folder on your computer: click on the file to save it as well as select JPEG. That’s it, your work is done and you have a new image with your data. You can add additional text or details to the image, as you wish.
We draw a conclusion – all these actions can make the beginner who for the first time has opened the program on a photoshop.
Can Mockups Be Used in Social Networks?
Of course, you can. I may show it in any social network, on my website or in another group, reporting about this group and inviting it to the group. You can make an inscription on the picture.
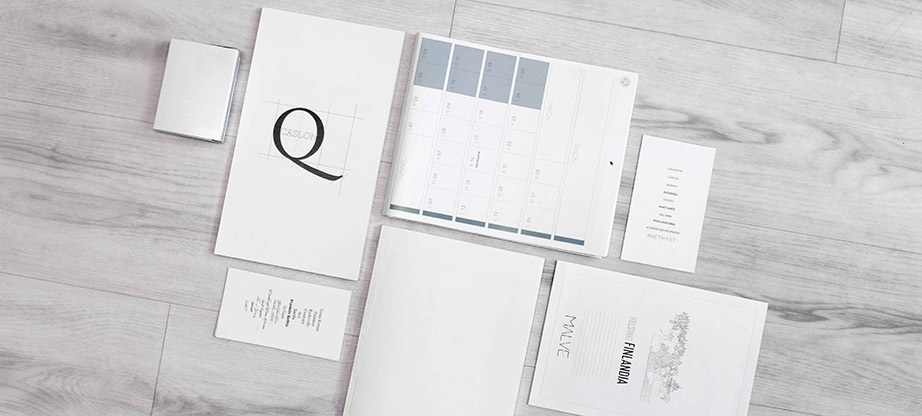
You can do the mockups yourself for your tasks and needs. That is, prepare a layout and then fill in different pictures. Posters, booklets, business cards – this is what can be useful for your group. For example, you design your product in the form of a booklet and send it to customers. Or you create your own mini-course and offer it in the form of a book. How do I draw a book? No way! Take the finished book mocha and paste your data. That doesn’t mean you’ll be selling a paper book, no. You just show the client the seriousness of your work.